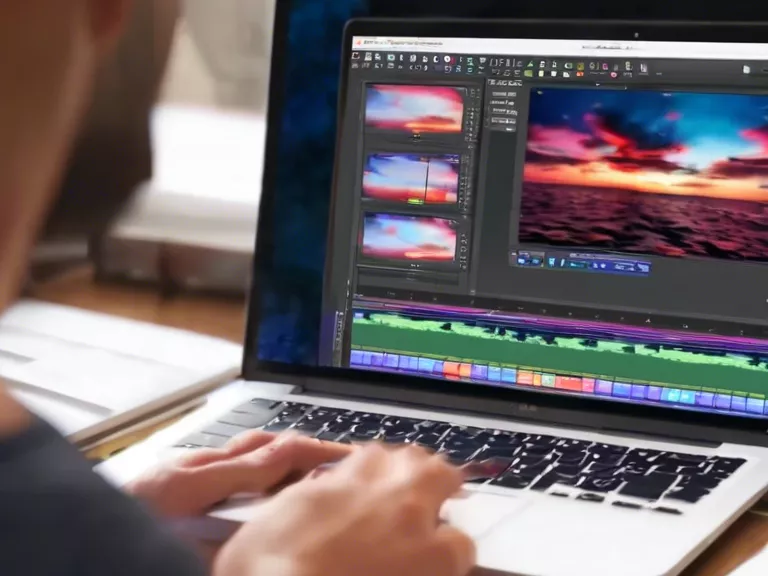
Step-by-step guide to editing videos with free software tools
In the age of digital content creation, video editing has become an essential skill for creators looking to make their mark online. However, the cost of professional editing software can be prohibitive for many beginners. Luckily, there are several free software tools available that can help you create polished videos without breaking the bank. In this guide, we will take you through the steps of editing a video using free software tools.
Step 1: Choose your software
There are several free video editing software options available, such as Shotcut, OpenShot, and DaVinci Resolve. Choose the one that best fits your needs and download it onto your computer.
Step 2: Import your footage
Open your chosen software and import the video footage you want to edit. You can usually do this by clicking on the "import" or "add media" button and selecting your files from your computer.
Step 3: Arrange your clips
Once all your footage is imported, drag and drop the clips onto the timeline in the order you want them to appear. You can also trim your clips by adjusting the in and out points.
Step 4: Add music and effects
Enhance your video by adding background music, sound effects, titles, and transitions. Most free editing software tools have a library of pre-installed effects that you can choose from.
Step 5: Export your video
Once you're happy with your edits, it's time to export your video. Choose your desired output settings, such as file format and resolution, and click export. Your video will then be saved onto your computer.
By following these steps, you can create compelling and professional-looking videos using free software tools. With practice and patience, you can develop your editing skills and take your content creation to the next level.


